Quick Start Guide for the Saramonic Blink 500 B1 & B2 Ultracompact Dual-Channel Wireless Mic Systems
Apr 18th 2022
Quick Start Guide for the Saramonic Blink 500 B1 & B2 Ultracompact Dual-Channel Wireless Mic Systems
The Saramonic Blink 500 B1 and B2 wireless systems are insanely easy to use. Even though these wireless systems aren't complicated, we decided to make a quick how-to article to explain the ins and outs amd make the process even easier.
Right out of the box, the system is ready to use. You can just turn it on and go! Turn on the receiver by holding down the power button for about 1 second, then turn on the transmitter or transmitters the same way. The light on the RX receiver will be solid blue when paired with the transmitters. If not paired, the LED will flash slowly.
You can use the TX transmitter's integrated omnidirectional microphone by just clipping it to your subject's lapel or collar. Or, use a traditional body-pack transmitter with the included lavalier microphone. The transmitters both feature input-level controls, right on the side, to raise or lower the volume of each subject. The RX receiver slides right into your camera shoe for mounting, but because it's so compact and lightweight you can clip it anywhere, like the camera strap.
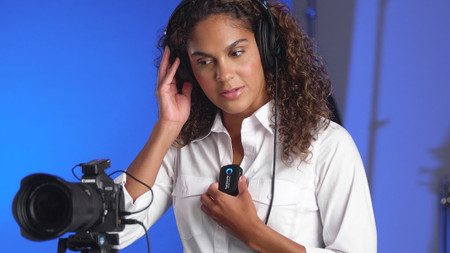
Use the included TRS output cable to plug right into your camera's microphone input. While monitoring with headphones, use the level control on the transmitters to get a strong, clean signal and create an even mix of the two subjects when using two transmitters; then set your camera's input level while watching the camera's audiometer. A good rule of thumb is to have the levels not exceed -3dB on the meters, so raise or lower the camera's microphone input level until you are peaking around -5dB to -3dB. Although meters are helpful, it's also important to trust your ears as you monitor with headphones to get the best sound.
Once you have a clean, evenly-mixed signal you are ready to shoot. But be sure to monitor with headphones and watch the meters throughout the shoot to identify and fix any possible issues to ensure you have the best sound.
Be sure to check out our other Blink 500 how-to videos for even more information, and subscribe to our channel, below, for even more great content.

